
Underlayment is a great way to add stability and many more benefits to your flooring structure. And one of the popular underlayment choices is plywood. Layering sheet vinyl or tiles often demands using a plywood underlayment for extra strength and to remain pristine.
Without knowing the right way on how to install plywood underlayment, you may suffer from edges, nails, bumps, and dents showing through flooring. And so, you need to follow some tricks and instructions to get a proper installation. We are here to do that!
Know the Basics About Plywood Underlayment
Plywood underlayment is basically a layer that falls under the finished floor. It goes right over the structural quality engineered subfloor. So that a smooth and uniform surface is available for resilient flooring.
This works best for flooring such as wood, engineered ones, carpet, vinyl tile and also ceramic tile. Often the need to repair or replace structural subfloor comes ahead if it’s not sound. Only then underlayment can truly show its full potential benefits.
Lets Know Installing Plywood Underlayment
Step 1 – Start by Choosing the Right Plywood Underlayment
In earlier days, the lauan plywood that was also known as luan, used to be a popular standard for resilient vinyl flooring. Today, there are better alternatives available rather than Lauan and Meranti.
To choose superior quality plywood you need to consider some simple matters. Check if it has the right fastener pattern to ensure easy installation. You also need to have proper warranty supports, the manual guide for installation or online files.
Another important thing to check is whether the underlayment is industry-approved. Other than that, you also should consider environment friendliness, plantation and sustainable wood using, budget-friendliness and so on.
Step 2 – Preparation
There should be no dirt and debris before the underlayment installation. So thoroughly wipe away for a clean foundation to work on.
A complete check-up is also necessary for the whole room. So that any unnecessary nails protruding from material can be set or removed. The underlayment needs to be resting flat on whole floor. To solve unevenness, a wood filler can be a good repairing solution.
Step 3 – Panels Measurement
You need to decide the number of 4×8 floor panels necessary for a room. So do measurements to find out. In this tutorial, I’m talking about ¾ inch CDX plywood ones to cover the floor. The side that should be facing up needs to be smooth enough. Next. Go for covering the sub flooring by laying these panels flat. To alternate ends easily throughout the room, try cutting them to lengths.
Also, you should mark down for cutting the panels right. A dust mask is recommended since there will be harmful particles coming out. It’s good to have floor joists and wood grain of panels perpendicular.
After you are done cutting panels, let them stand in one corner of the room for a day at least. So that the heat and moisture get adjusted according to that room. And so, when you use them for installing, there will be no incident of warping.
You may also like to read: Best Underlayment for Laminate Flooring
Step 4 – Installing Underlayment
Now you should have a clean subfloor to start the main part. No moisture should be trapped beneath after laying the underlayment through a flat fitting. An adhesive can be a good idea to add between plywood and subfloor. Some experts, however, don’t really like the step. If the application is not uniform, there’s a chance of an improper fitting.
No joints should be extending constantly across the floor, keep this in mind to lay panels alternating ends. In most CDX plywood there is the tongue. This is for interconnecting and stays in the groove.
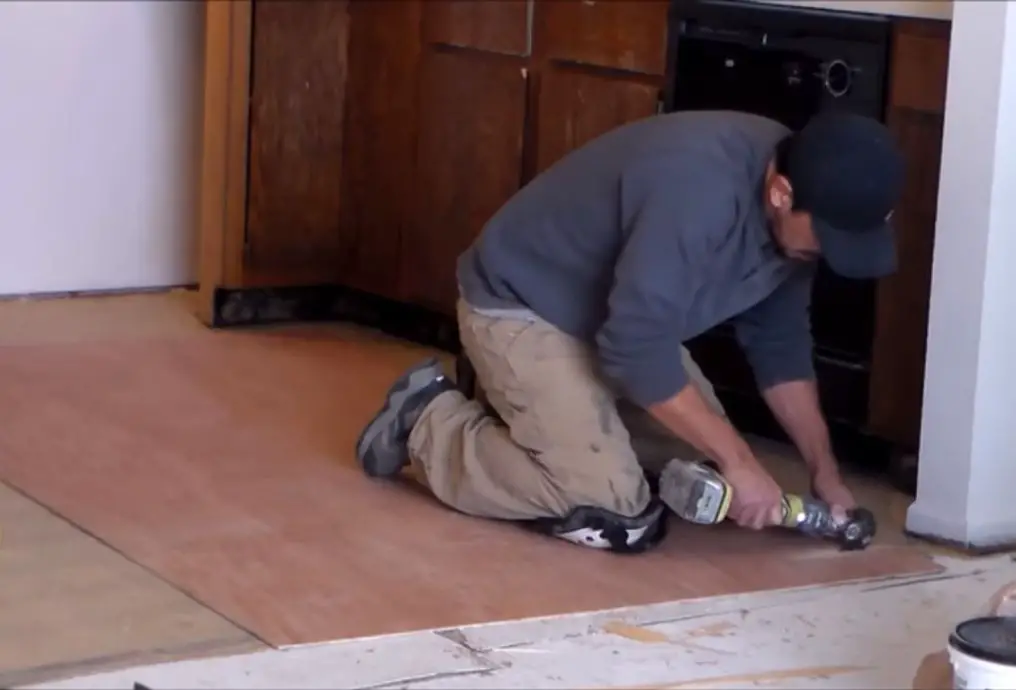
Step 5 – Nailing
You should start nailing every panel from one end while going towards the opposite end. Make sure the panel is flat while you do that. Some nails back out of wood once the laying is complete. Ring shank nails have no such issue, so you can use it.
Along the edges, you should keep each and every nail 4 inches apart. Across the plywood’s remainder part, go for 6 inches apartness. Using the nails, try making random patterns. So, there’s no chance of appearing through the flooring in a regular pattern.
While doing this step, make sure to wear proper safety goggles. Once the plywood is securely fitted, use some wood filler to get rid of rough spots. And it should be ready for the next flooring installment. If you are thinking of laminate, use a pad to cover the underlayment. For hardwood floors, use some felt layer over the plywood underlayment for better results.
Conclusion
That’s basically how to install plywood underlayment. Be sure to know about the process clearly before trying flooring installations. These are pretty serious matters to handle and without proper preparation, you should not walk ahead. Also, don’t forget to wear proper safety equipment while trying any sort of flooring works.
Good Luck!