It’s not new that people are head over heels for this amazingly popular traditional Italian beverage, cappuccino. The awesome blend that milk foam and espresso base create is truly something out of the ordinary.
At least for those who are hooked on this delicious coffee type. And so, if you are a proud owner of an espresso machine, then skipping those café visits for a perfect cup of cappuccino is absolutely alright.
By learning how to make a cappuccino with an espresso machine and using a few key instructions, you can make yourself a cup of delightful cappuccino that is nothing less than the cafe-bought ones.
Let’s Talk How to Make a Cappuccino with an Espresso Machine
Following a straightforward cappuccino recipe is not going to get you the perfect taste that you’re looking for. It would be nice to keep all the key points included and explained for you to create some amazing photo-worthy cappuccino cups.
Also, how long would it take to make a good cappuccino? If this is your first time, then surely more than usual. But once you get used to, you’ll end up making it quicker.
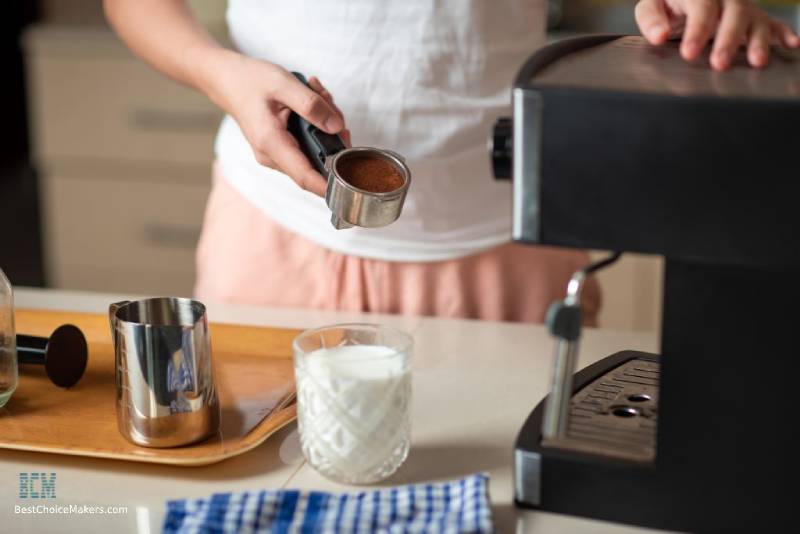
You can use a mocha pot or even AeroPress for making the espresso. Pulling the espresso shot needs to be done very smoothly for making cappuccino with a wonderful taste. Follow your espresso machine’s instructions to fill the portafilter.
You need to fill it with espresso grounds that are specifically chosen. This helps in a better, more even extraction to enhance the taste. Then you need to put it in the brew head next. Start your espresso machine.
You can opt for either single or a double shot here. The espresso machine will make you a rich cream top by brewing it in the best way possible. For a single cup of cappuccino, one shot should be enough. Go for a double shot if you want to make a larger quantity.
Sort Out the Milk Matters
The choice of milk is definitely going to vary from person to person. However, while making a choice a few things can help you. Whole milk is great for getting a perfectly textured foam.
Skim milk is also usable, but it does separate more. Some also prefer using rice, nuts, and soy milk here. The steaming will be somewhat different in such plan-based kinds of milk, but will still work great. Also, if you want to make mocha cappuccino then chocolate milk is recommended.
Use a chilled pitcher and pour your chosen milk into it. The quantity should be slightly more than what you’ll use. Suppose you need to make 8-ounce cappuccino, then use at least 10 ounces of milk. Milk expansion will occur, and using more will allow for easy pouring. A chilled pitcher will allow a long steaming period, and this helps make the resulting texture even smoother.
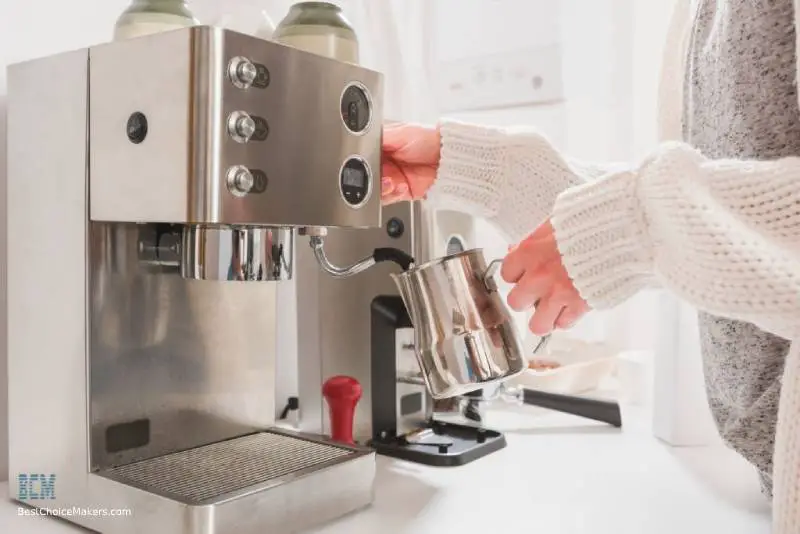
Now you need to use a steam wand. Turn it on slightly to purge any water resting on its wand surface. Insert it into the pitcher after that. Turn the wand on once again and hold it at an angle. If you are doing it correctly it should swirl the milk while heating it up. Use a kitchen thermometer for finding the exact temperature of boiling. This will help you track the heating of the milk.
Focus on Foam Next
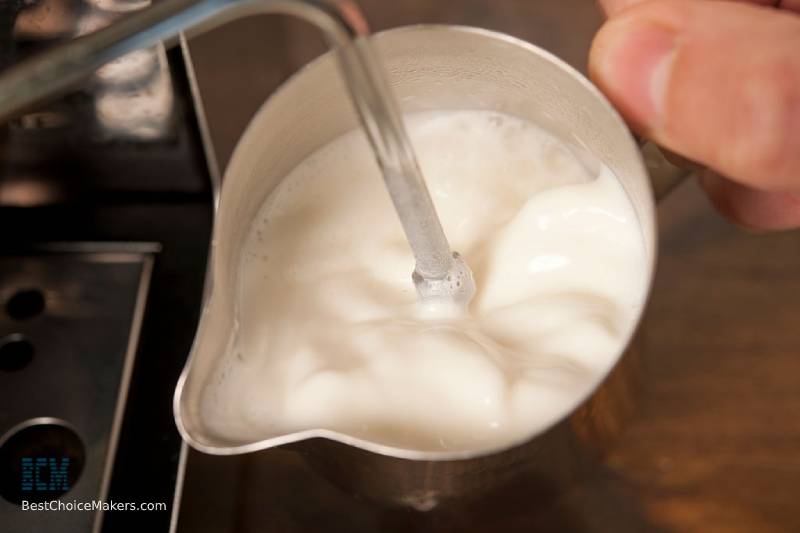
You want to make a perfect cappuccino at home. And so, you cannot miss out on the foam. And for that, you need to work with the wand. Occasionally tilt it whenever it is close to the milk surface. The air will get inside the milk for forming foam. Do this for a few seconds only.
Don’t overdo it or else you’ll end up making very dry foams. A temperature between 65 to 70 degrees Celsius is enough for you to stop this process. Once you note that with your kitchen thermometer, turn the steam wand off and remove it from the milk. Your milk should now exhibit a glossy, smooth texture after the steaming is complete. It should not be lumpy or too dry.
If you don’t have a steam wand then warm the milk in your microwave. You can shake it for creating the foam in a mason jar. Use nonfat or low-fat milk in this case. Keep it at least half full and then shake for 30 to 60 seconds. The milk will nicely foam up. Then you need to warm it in the microwave for 30 seconds. This method, however, will not result in long-lasting foams, typically just for a few seconds.
Now if you don’t have a steam wand but still want a good foam then use a frother or whisk. Let the milk get steamed on the stove or microwave. And you can use the whisk or frother for creating foam. This will take more time than a steam wand.
Bring Everything Together
Bring the frothed milk onto your kitchen counter. Give it a tap or two. This will help to get rid of any huge bubbles and you’ll be left with only smooth and glossy-looking microfoam. Give the pitcher a swirl right before pouring. This will help the foam separate from the milk.
In case you still don’t have your already pulled espresso in the serving cup, pour it now. It will be even better if the cup is warm. Then use one hand to hold the espresso and also tilt it just a little bit. Now with your other hand, slowly pour the steamed milk. You want to target right in the center of espresso.
While gradually filling the cup, you want to bring it down slowly. So that you can pour it quicker and the top of the cup gets foam on it better. If the pouring is difficult, then you can also try to use a long stirring spoon. You can use it to help hold the foam back. And later you can put foam onto the top of the cappuccino serving cup easily.
Wrapping Up
There’s no doubt that learning how to make a cappuccino with an espresso machine is going to need some time and patience of yours. However, the rich flavor and body are very much worth the hard work. Once you get used to this whole process, it won’t take long.
The whole concept in detail will just help you to understand this process deeply. The creamy and rich froth is a cappuccino’s signature touch. Give it a try and you’ll be impressing your inner coffee lover a lot.


