Have you ever heard about an Infrared thermometer?
If yes, then you probably know it’s a device used to get a temperature readout. One needs it for scanning particular segments of any area or object. There’s a built-in laser to complete this process.
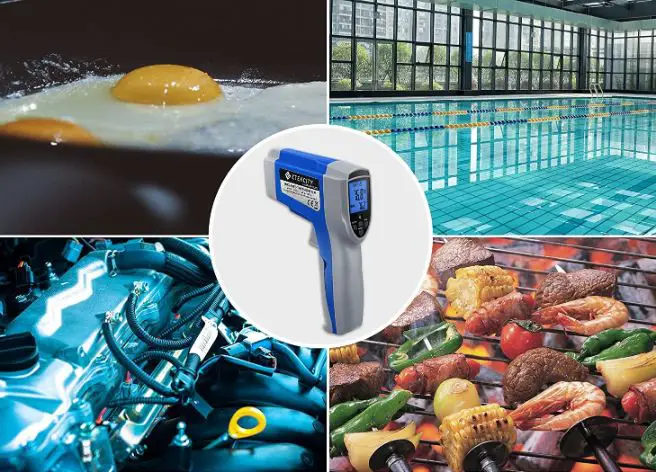
It is essential for use cases that require finding out many surface temperature readings. For example, food items, automobiles, ventilation, or the wall’s surface.
Today we will talk about how to use an infrared thermometer for such various needs.
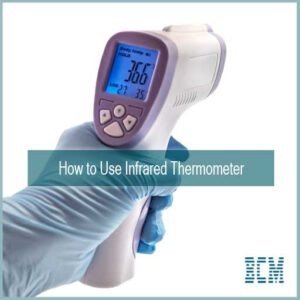
How to Use Infrared Thermometer Gun Properly
Step by Step Usage Guide, FAQs
Below we will discuss using this tool and some facts about its accuracy. I will also cover frequently asked questions regarding how to use infrared thermometers. Keep on Reading!
Start by Turning on The Device.
Depending on the different models of an IR thermometer, the turn-on step may vary. So, you need to refer to your particular model’s switching-on system. There should be information regarding this in the user manual. So, start there first.
- If you own Model IKR-2, start this device by pressing the button called “C/F” while triggering it at the same time.
- In the case of using Model IR-GUN-S, you should hold the “Measure” labeled button and also press the “C/F” button at the same time.
- Finally, for Model IR-IND you need to hold the “Measure” button down to make it turn on.
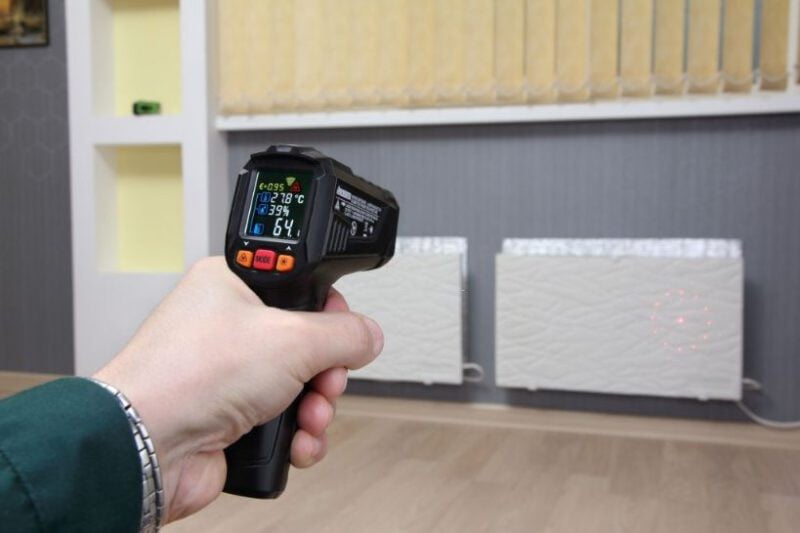
Let the Laser Point Toward the Target
After turning the device on, there should be a circular laser light beaming. Now, point the laser light carefully at the object you are interested in getting the temperature of. You can do this from a distance. However, there’s a limit to this distance. Depending on what particular model you are using, this distance should be specified in the user manual.
However, in most cases, it’s good to stand closer to the target object when possible. The maximum distance that is okay to keep for measurement is known as Spot Ratio. Sometimes, it’s also called Distance to Spot Ratio.
Once You Are Done with The Task
Until you complete the temperature reading, keep on pressing the trigger while keeping the laser fixated on the object of interest. If you release this trigger, the device won’t work anymore since laser light will stop emitting. Once the readings are complete, turn the device off by gradually releasing this trigger.
Keep in Mind:
- The laser has a negative impact on eyes, which can cause permanent damages. So never look at the laser beam directly.
- If you are measuring liquid or soft foods, make sure to stir or mix them well.
- Unexpected ambient temperature changes are the main reason for inaccurate readings. So, in case of a walk-in-cooler, place the thermometer inside 20 minutes earlier. This way the final result is more accurate.
- The thermometer and product should have no barrier in between. So, don’t forget to take the covers off.
- For accurate readings, it’s important to clean the thermometer regularly.
- Let a griddle or pan have oil on its surface before checking the temperature. This will give better reading results.
Infrared Thermometer Accuracy
The main factor that determines an infrared thermometer’s accuracy is emissivity. This term usually means the rate of infrared energy emitted from a substance. And this is calculated on a 0 to 1 scale.
With a 1-scaled object, the surroundings completely absorb the infrared energy. This emissivity factor can make an impact on the thermometer’s temperature readings.
Objects that have low emissivity tend to give inaccurate results. For example, stainless steel and aluminum often show inaccurate results. Applying a thin grease layer or paint with a known emissivity over these surfaces is a good solution.
Some thermometers come with emissivity settings for this problem. It can be fixed or adjustable, depending on what model you are buying. For simplified operation, a fixed setting will keep you from having to adjust this based on each object you are measuring. These are great for almost every object including food items.
However, if your use cases typically involve materials with low emissivity, your best bet is a model with adjustable emissivity settings. If you do go with one of these adjustable models, emissivity tables will be your best friend. Emissivity tables provide rough, but sensible emissivity values for many materials, so you can set up your infrared thermometer pretty close to what is necessary.
Frequently Asked Questions
Can you use infrared thermometer on humans?
It depends. Usually, the thermometers for body temperature readings use a bolometer. This is a great component for getting a good result at 95 to 113-degree Fahrenheit (35-45 Celsius). And this is pretty accurate when calibrated with a black body radiator to within 0.05 degrees Celsius. Usually, the best approximations here are the human ear and mouth area.
How to check accuracy of infrared thermometer?
It’s simple, but only when you have a surface that has a temperature you already know. This stable, “known” surface will help in verifying the accuracy of an infrared thermometer. You need to compare the readings using an immersion-type thermometer. Immersion thermometers stay below the surface of a semi-solid or liquid.
Are infrared thermometers accurate for cooking?
Using an infrared thermometer for cooking purposes is uncommon. However, it can very well give you a spot-checking opportunity for meals. You could use one to check food temperatures at a buffet to make sure things are at an appropriate temperature for consumption.
You May Like to Read: How to Use Foodsaver Vacuum Sealer
Conclusion
Looks like we have reached the end for today! Hopefully, you have a better idea of how to choose and use an infrared thermometer. No matter what object you need the infrared thermometer for, choosing a good and functional model is the key here.
So, make sure to read user reviews before buying your model. Also, follow the instructions given in the included user manual – many folks skip this step and end up not getting the results they want to see.
Good Luck with that new infrared thermometer of yours and happy temping!
Related Web Links to Know More –